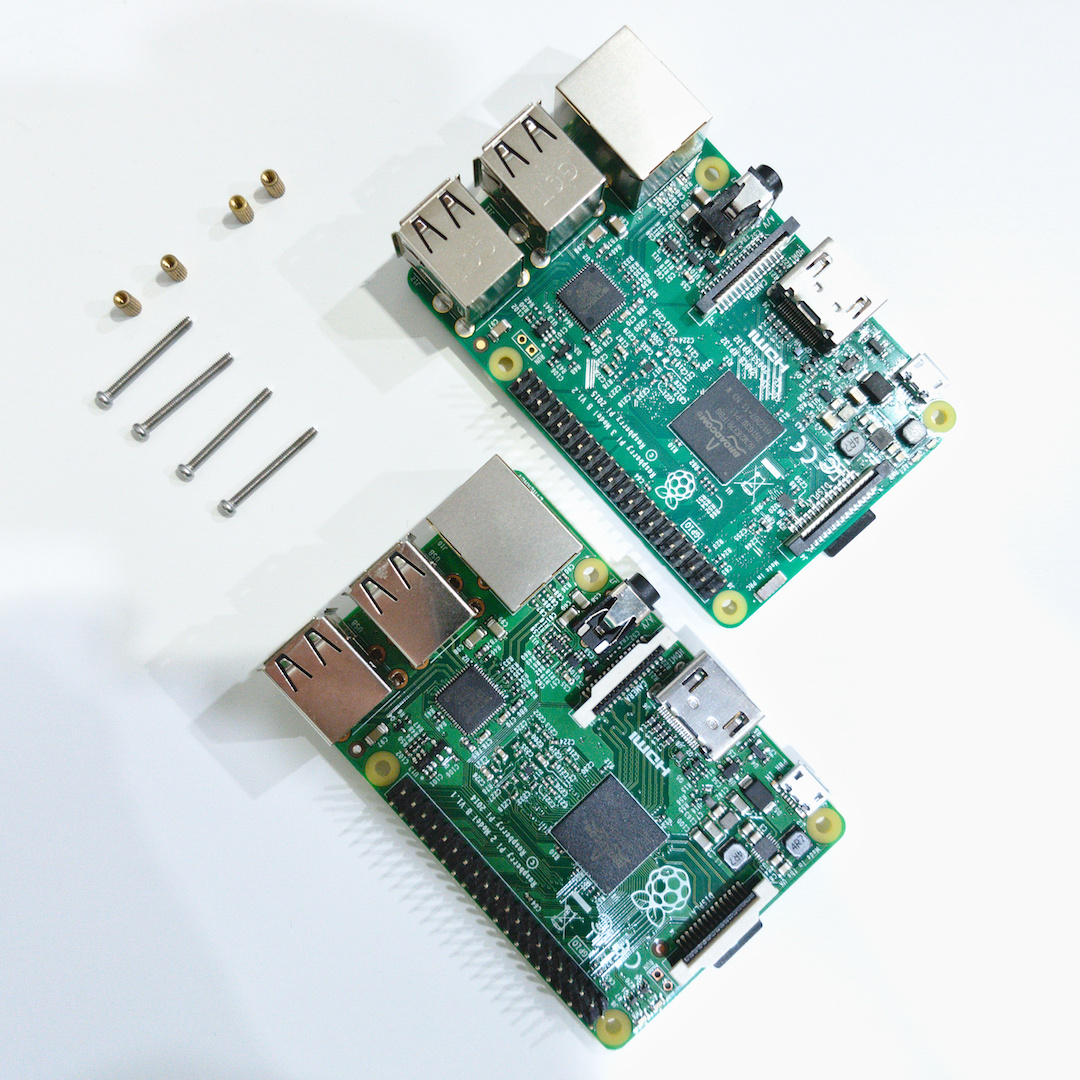
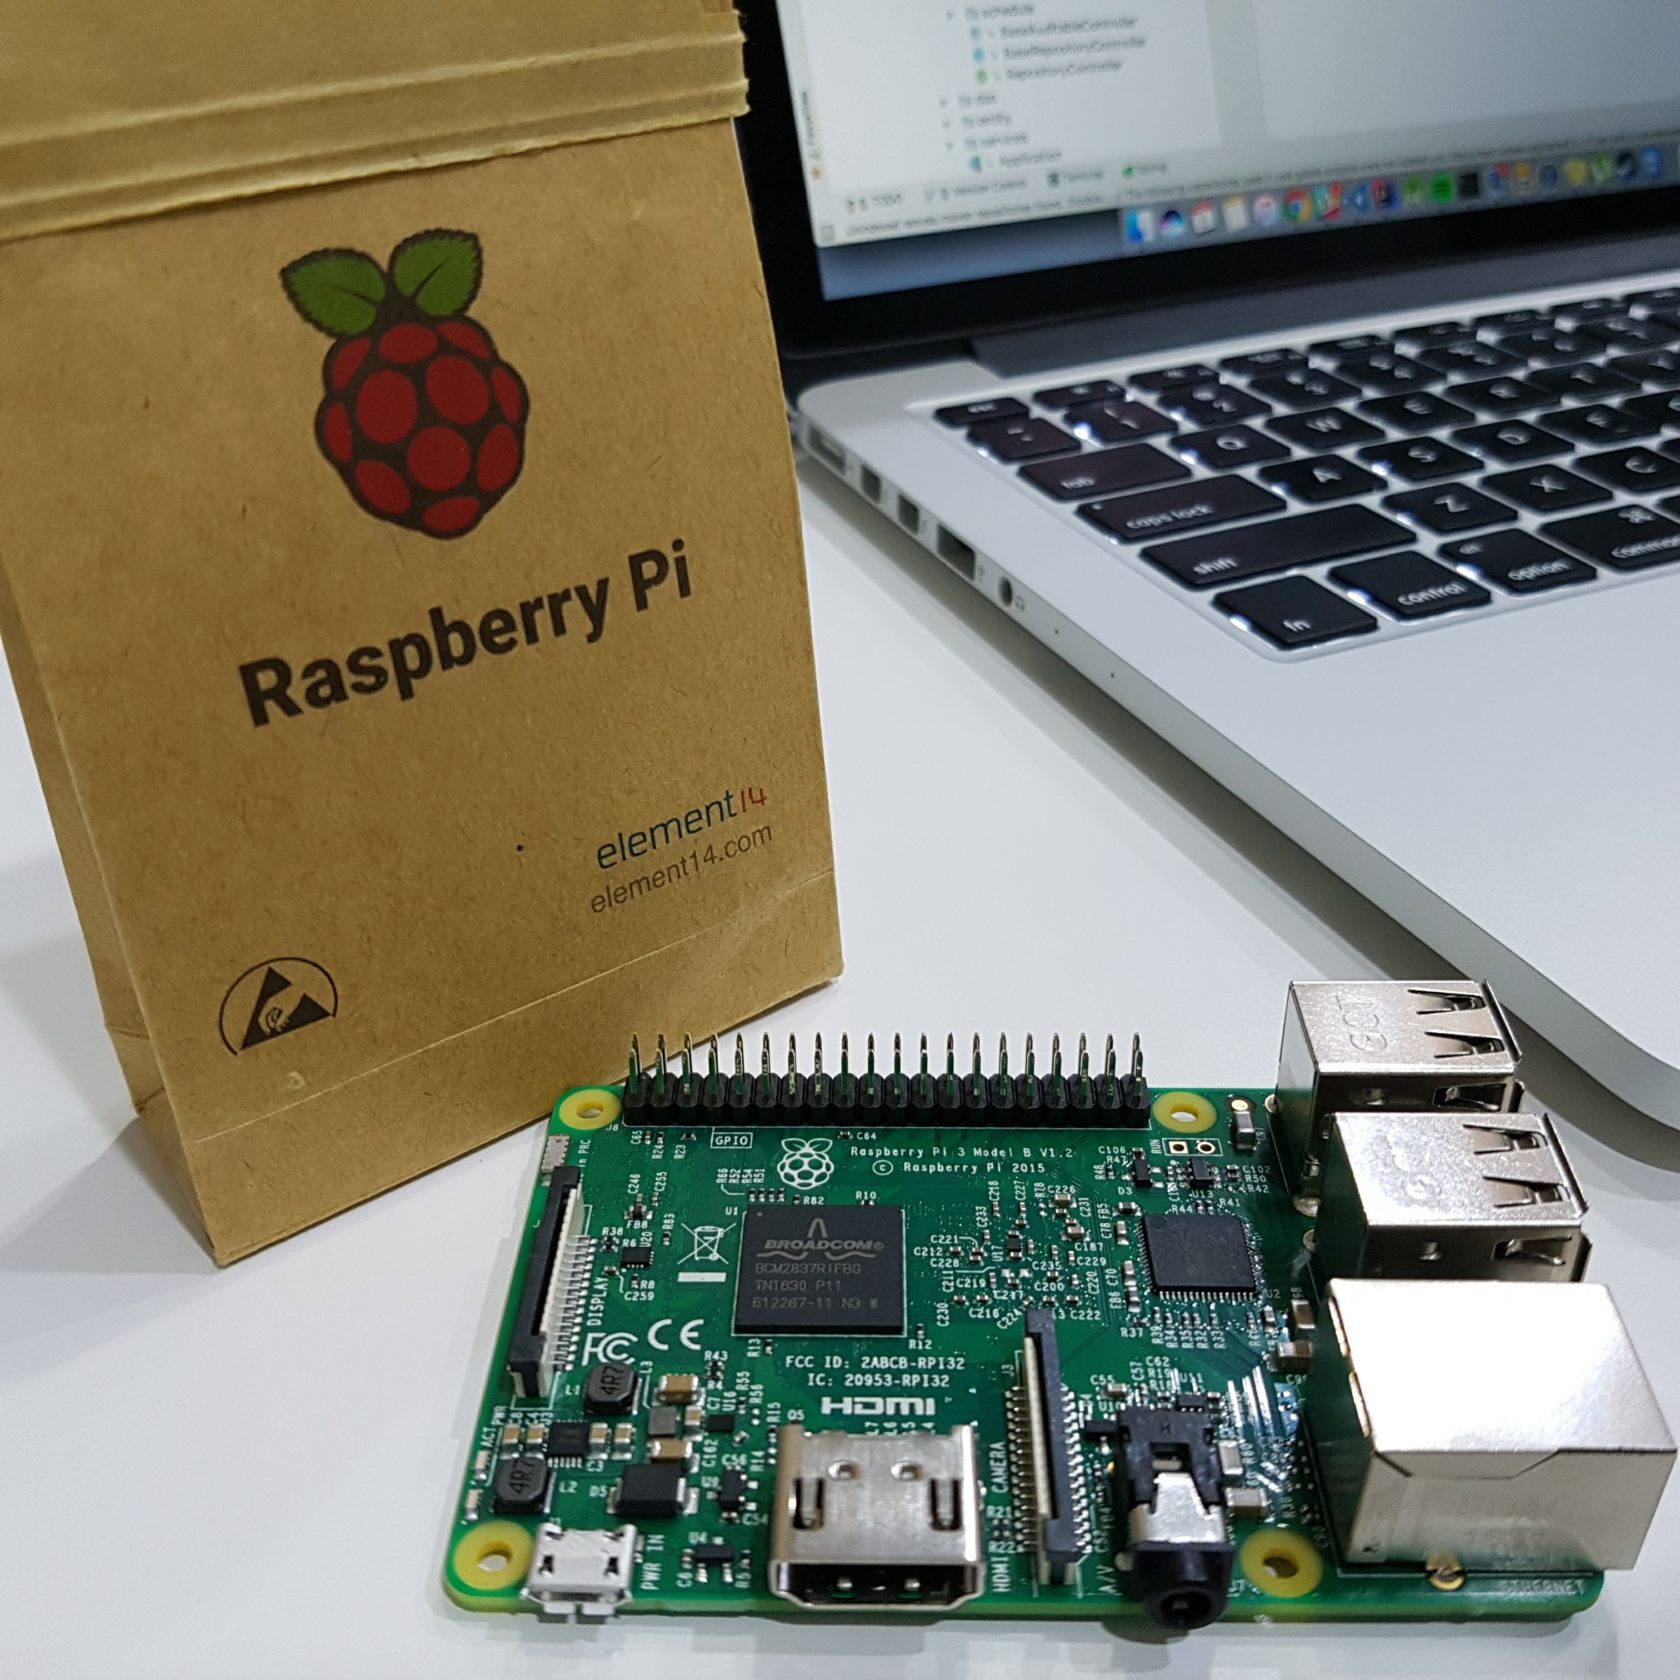
Ever wonder to have mini PC that probably just enough to become 24/7 server and even clustering them together? Likely Raspberry Pi could become one of your choice.
Raspberry Pi is a computer powered by ARM micro processor and can run Linux in it. Unlike MicroController, this one is much powerful in terms of processing power but I cannot say that Raspberry Pi is better than arduino and other microcontroller peripherals. They’re not comparable since they’ve made on different purpose.
There’s considerations to take before you buy one :
- Purpose of the device
- Power usage
- Community support
- Features
- Difficulty level to achieve your purpose
There’s more than raspberry pi and they may be more powerful too. But due to its large community support, then I started with it.
Got one? Then lets doing some fun ?

First thing to do is select the OS you will put inside Raspi SD Card (I recommend class 10 U1 for better performance). For Microsoft fan boys you might pick windows 10 core IoT, it can be run on both raspberry pi 2 and 3. You can find the tutorial from its official site. For Linux , Raspbian come as my recommendation due to it’s specially made for raspberry environment. Raspbian itself is Debian based Linux. It will use apt get as its package management. Make your choice and then grab one.
Before we continue, make sure you’re able to do SSH into your Raspberry Pi because it will make your work effortless. Unless you need to prepare some usb based IO devices like mouse and keyboard, also a HDMI screen! An RJ45 cable also will help, you can configure your Wi-Fi adapter from ssh to Raspberry Pi by SSH via it first.
Got everything together? let’s put SD card with Raspbian image into Raspberry Pi card slot. Let it boot, first time boot may take a while up to 10 minutes. make sure that the power indicator (red LED) always light up. If it’s blinking or even die, it means that it doesn’t get enough power supplied into. If it doesn’t boot up , you may put bad image OS into it or have bad SD card (also make sure you follow the instructions to flash the SD card here). Some ways to test that your raspberry pi ready to work is by establishing SSH connection or by plug a monitor to it.
*If you plug it into a monitor, by default Raspbian would bring you to X desktop or PIXEL desktop (new raspbian desktop application).
Upon boot, Raspbian will create pi user with password raspbian so use SSH as pi.
After you’re logged in, you can start updating the library by using command below. Follow the instructions and reboot if needed.
sudo apt-get update
sudo apt-get upgrade
Here I recommend you to change pi password so only some authenticated people can access it (do this while logged in as pi and follow the instructions)
passwdYou may also add a custom user so everything would come under your name (not really necessary) by doing this
sudo addduser <username>Fills the form given such as name, address, and also password.
To put that username to be belong to some groups such as sudo, audio, can do it manually by using
sudo addduser <username> <group name>or to have same group as pi by using
for GROUP in adm dialout cdrom sudo audio video plugdev games users netdev input spi i2c gpio; do sudo adduser <username> $GROUP; donethen check group list belong to your new username by using
groups <username>After bunch of setup above, we will give an attention to our Raspbian storage. At previous release, Raspbian will only use maximum 4GB allocated system space that can be used by it. We can check it use df command
df -hif the configuration correct already, then for 16GB sd card, you will find
Filesystem      Size  Used Avail Use% Mounted on
/dev/root        15G  4.1G  9.8G  30% /
devtmpfs        459M     0  459M   0% /dev
tmpfs           463M     0  463M   0% /dev/shm
tmpfs           463M  6.3M  457M   2% /run
tmpfs           5.0M  4.0K  5.0M   1% /run/lock
tmpfs           463M     0  463M   0% /sys/fs/cgroup
/dev/mmcblk0p1   63M   21M   43M  34% /boot
tmpfs            93M     0   93M   0% /run/user/1000
unless yours is not configured properly, then simply enter raspi-config, and select expand filesystem so Rasbian now will able to use all space in SD card

Hooray your raspberry pi now ready for further journey. You can start develop a software written in many language such as Java, Python, C/C++, JavaScript, etc..

Further read:


Leave a Reply